

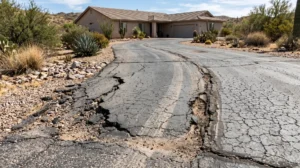

Asphalt pavement is a durable and cost-effective choice for driveways, parking lots, and roadways in Phoenix, AZ. However, even high-quality asphalt can develop cracks over time due to weather, traffic, and natural aging. Understanding why asphalt cracks, identifying different types of cracks, and knowing the right repair methods can help Phoenix property owners protect their investment and avoid costly pavement replacements. This guide explains the common causes of cracked asphalt and the most effective ways to repair and maintain it.
What Causes Asphalt to Crack
Asphalt cracking rarely happens without reason. Multiple factors contribute to pavement deterioration, and understanding these causes helps property owners take preventive action. The primary culprits behind cracked asphalt include environmental conditions, structural stress, installation quality, and natural aging processes.
Moisture and Water Infiltration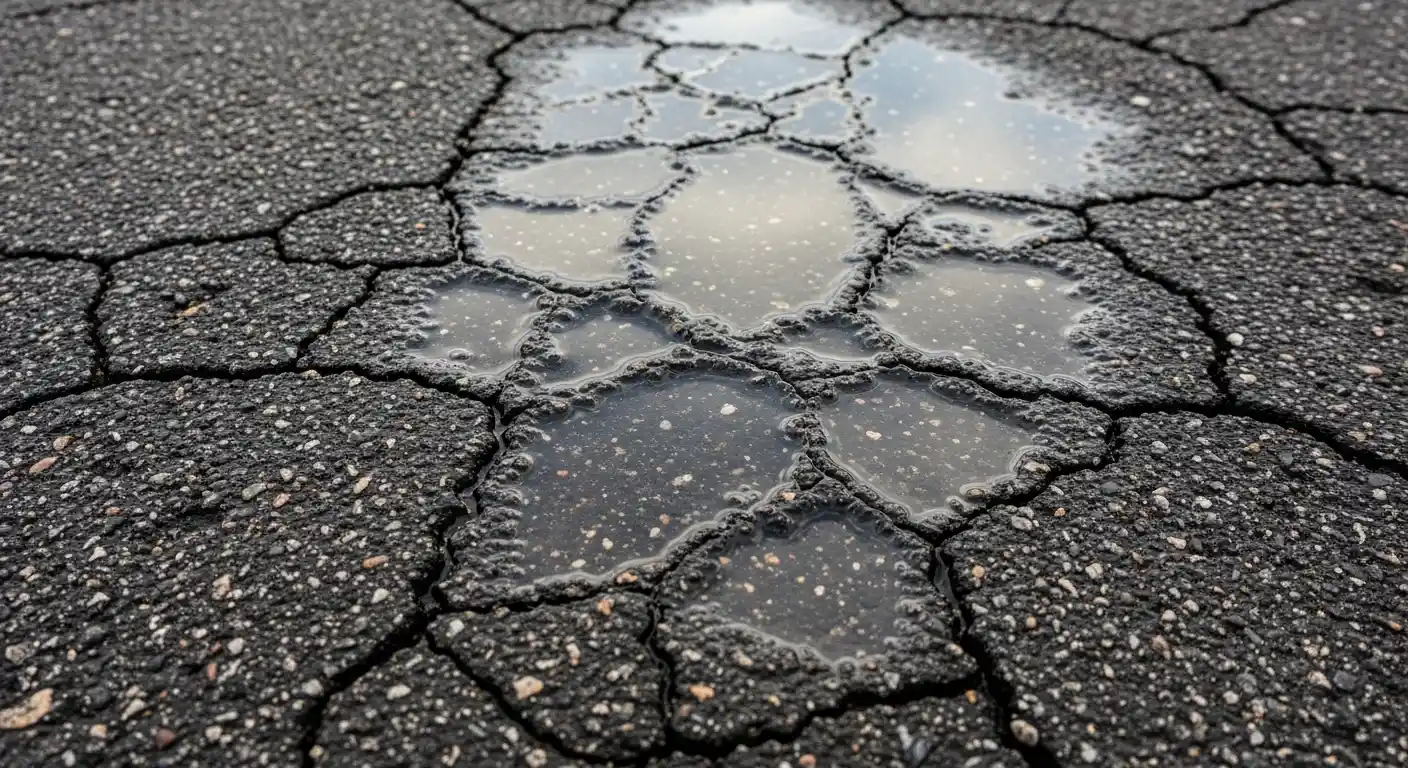
Water is one of the biggest causes of asphalt damage. When moisture seeps through small surface openings, it weakens the pavement and the base layer beneath it. Poor drainage allows water to pool on the surface, increasing the risk of infiltration and foundation failure.
Standing water accelerates asphalt deterioration by breaking down its binding materials. In colder climates, this damage intensifies due to freeze-thaw cycles. As water freezes, it expands and widens existing cracks. When it melts, it leaves behind weakened areas, allowing more moisture to enter and causing cracks to spread further over time.
Weather Extremes and Temperature Changes
Asphalt pavement constantly expands and contracts as temperatures change. In hot weather, asphalt absorbs heat and expands, creating internal pressure that can lead to surface cracking or, in severe cases, buckling—especially near curbs or adjacent pavement.
Cold temperatures cause asphalt to contract and become brittle, increasing the risk of cracking as tensile stress builds. Repeated cycles of daytime heating and nighttime cooling gradually fatigue the pavement. Over time, seasonal temperature extremes weaken the asphalt structure, making it more prone to crack formation.
Heavy Traffic and Structural Load Stress
Vehicle weight and traffic frequency play a major role in asphalt deterioration. Heavy vehicles such as delivery trucks, construction equipment, and machinery place significant stress on pavement surfaces. Each vehicle causes the asphalt to flex under pressure, and repeated heavy loads gradually fatigue the material.
In parking lots, frequent stopping, turning, and acceleration create shearing forces that accelerate wear. High-stress areas near entrances, intersections, and parking spaces often deteriorate faster due to repeated loading on the same sections. When heavy traffic is combined with insufficient pavement thickness or a weakened base, the risk of structural cracking increases significantly.
Poor Installation and Weak Base Preparation
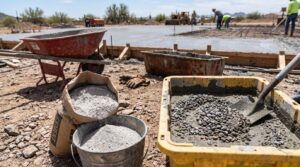
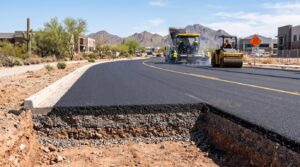
The long-term performance of asphalt pavement depends heavily on proper installation. A well-prepared base requires careful site evaluation, quality materials, and proper compaction. When the base layer is poorly compacted, weak spots form beneath the surface, leading to uneven settling and stress that eventually causes cracking.
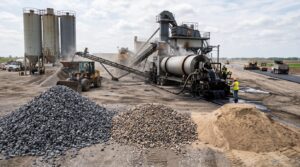
Using substandard materials further reduces pavement lifespan. Insufficient base thickness, low-quality aggregate, or an improper asphalt mix can all lead to premature failure. Ground movement from soil settlement, expansive soils, or utility work can also create voids beneath the pavement. Even the highest-quality asphalt cannot perform well without a stable, properly prepared foundation.
Aging Asphalt and UV Exposure
Over time, asphalt pavement deteriorates through oxidation. Exposure to oxygen and sunlight causes the asphalt binder to harden and lose flexibility, making the surface more brittle and prone to cracking. This process is accelerated in areas with strong ultraviolet exposure.
As flexibility decreases, the pavement becomes fragile and begins to show visible signs of aging, such as a faded gray color, a dry or chalky texture, and fine surface cracks. Without protective treatments like sealcoating, continued UV exposure weakens the asphalt binder, eventually leading to widespread cracking.
Common Types of Asphalt Cracks
Recognizing different crack patterns helps diagnose underlying pavement problems and select appropriate repair strategies. Each crack type indicates specific failure mechanisms and requires tailored repair approaches.
Alligator (Fatigue) Cracking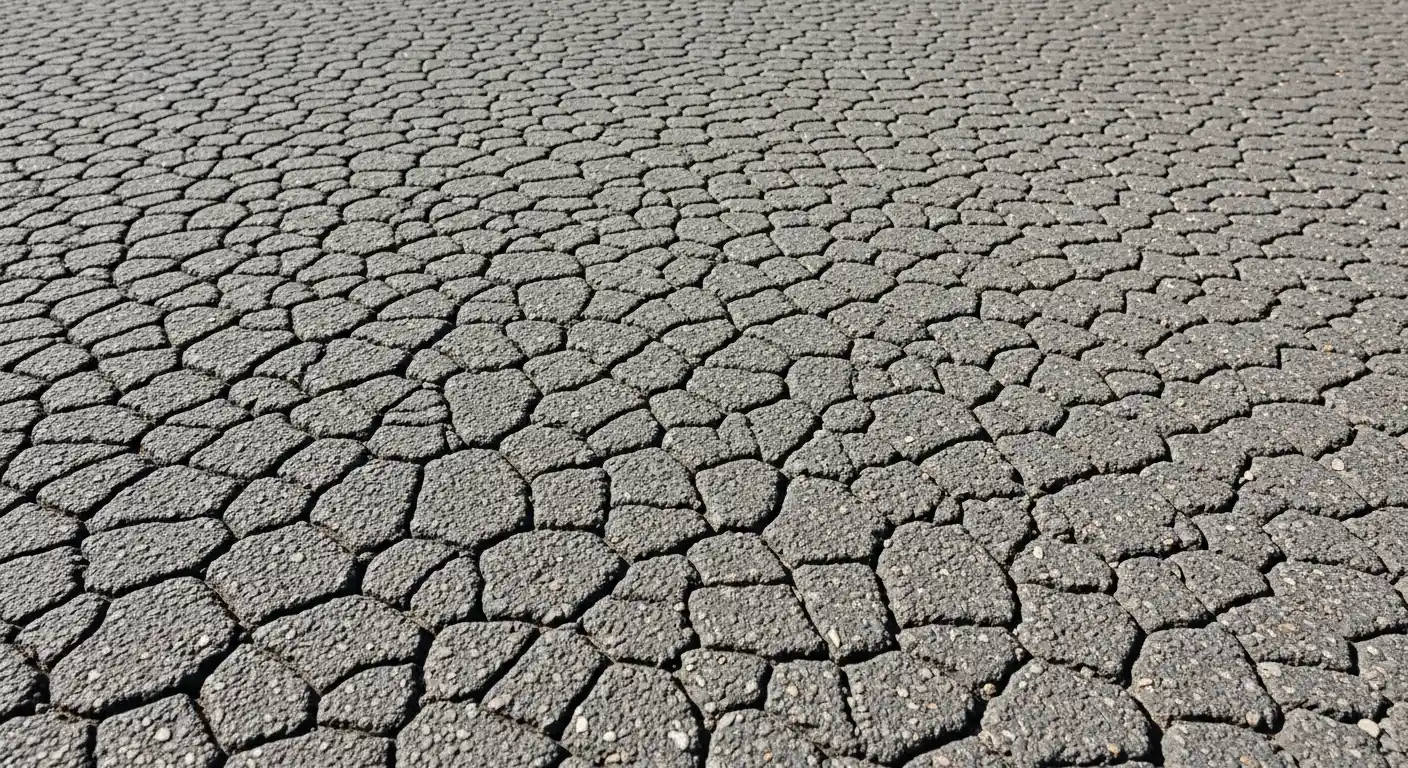
Alligator cracking, also known as fatigue cracking, appears as interconnected cracks that resemble alligator skin or a spider-web pattern. This type of cracking indicates serious structural failure caused by repeated traffic loads on pavement with inadequate support.
Alligator cracks commonly develop in high-traffic areas and are often accompanied by rutting or surface depressions. Because this damage signals failure of the underlying base, it requires full-depth repair rather than surface-level crack filling.
Longitudinal Cracks
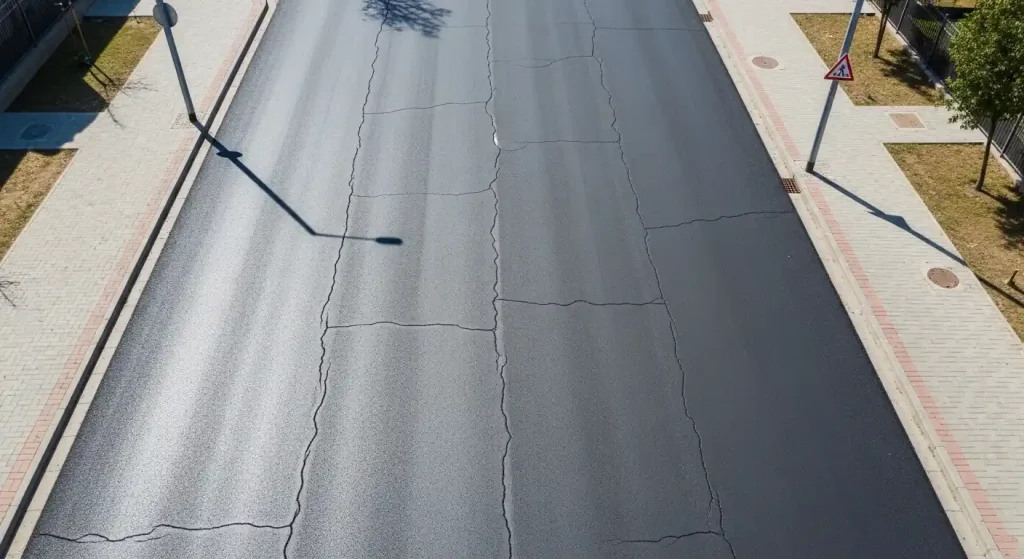
Longitudinal cracks run parallel to the pavement centerline or direction of traffic. They often result from poor joint construction, pavement edge settlement, or reflective cracking from underlying layers. Temperature-related shrinkage can also contribute, especially when the asphalt lacks flexibility.
Although these cracks may appear minor at first, they allow water to penetrate the pavement structure, increasing the risk of more serious deterioration if not repaired promptly.
Transverse Cracks
Transverse cracks run perpendicular to the pavement centerline. They typically form due to thermal contraction during cold weather or reflective cracking from joints or cracks in underlying pavement layers. These cracks may appear as single fractures or as multiple parallel cracks across the surface.
While transverse cracks are often less severe than structural cracking, they still require timely sealing to prevent water infiltration and further pavement damage.
Block Cracking
Block cracking forms a pattern of rectangular sections that resemble city blocks. This type of cracking usually indicates that the asphalt has hardened over time due to aging and oxidation. Block cracks often cover large areas and result from repeated temperature fluctuations combined with reduced asphalt flexibility. Because of their interconnected nature, block cracks signal advanced pavement deterioration and typically require resurfacing or reconstruction rather than simple repairs.
Edge Cracks
Edge cracks develop along the pavement perimeter, usually within one to two feet of the edge. They are caused by inadequate edge support, poor drainage, vegetation encroachment, or weakened subgrade near the boundary. These cracks often lead to crumbling or breaking of the pavement edge and can worsen rapidly if left unaddressed. Correcting drainage and reinforcing the pavement edge are key to preventing recurrence.
Reflection Cracks
Reflection cracks replicate the pattern of cracks, joints, or imperfections in underlying pavement layers, appearing in new asphalt overlays. They often show up within one to two years after resurfacing because the new layer moves with the existing cracks beneath it. Preventing reflection cracking requires techniques such as crack isolation membranes or removing deteriorated underlying layers before overlay installation.
How to Fix Cracked Asphalt
Selecting the appropriate repair method depends on crack type, severity, pavement condition, and budget considerations. Different repair techniques offer varying levels of durability and cost-effectiveness.
Crack Sealing vs. Crack Filling
Crack filling and crack sealing are two distinct repair methods often confused. Crack filling uses flexible materials to prevent water and debris from entering cracks and works best for non-working cracks with minimal movement.
Crack sealing is a more durable approach. The cracks are first cleaned or routed, then filled with specialized sealants that bond to the crack walls and expand or contract with the pavement. This method provides longer-lasting protection for working cracks that experience significant movement, making it a better investment for extending pavement life than simple crack filling.
Cold-Pour vs. Hot-Pour Crack Repair
The application temperature of crack repair materials greatly affects their performance. Cold-pour products are ready to use and convenient for small or DIY repairs. They stay flexible at ambient temperatures but generally provide shorter-lasting results, especially in extreme climates.
Hot-pour sealants are heated to 350–400°F and applied with professional equipment. They flow better into cracks, bond strongly to crack walls, and offer more durable, long-lasting repairs. While requiring specialized tools and expertise, hot-pour materials are the preferred choice for commercial properties and high-traffic areas.
Asphalt Patching and Full-Depth Repair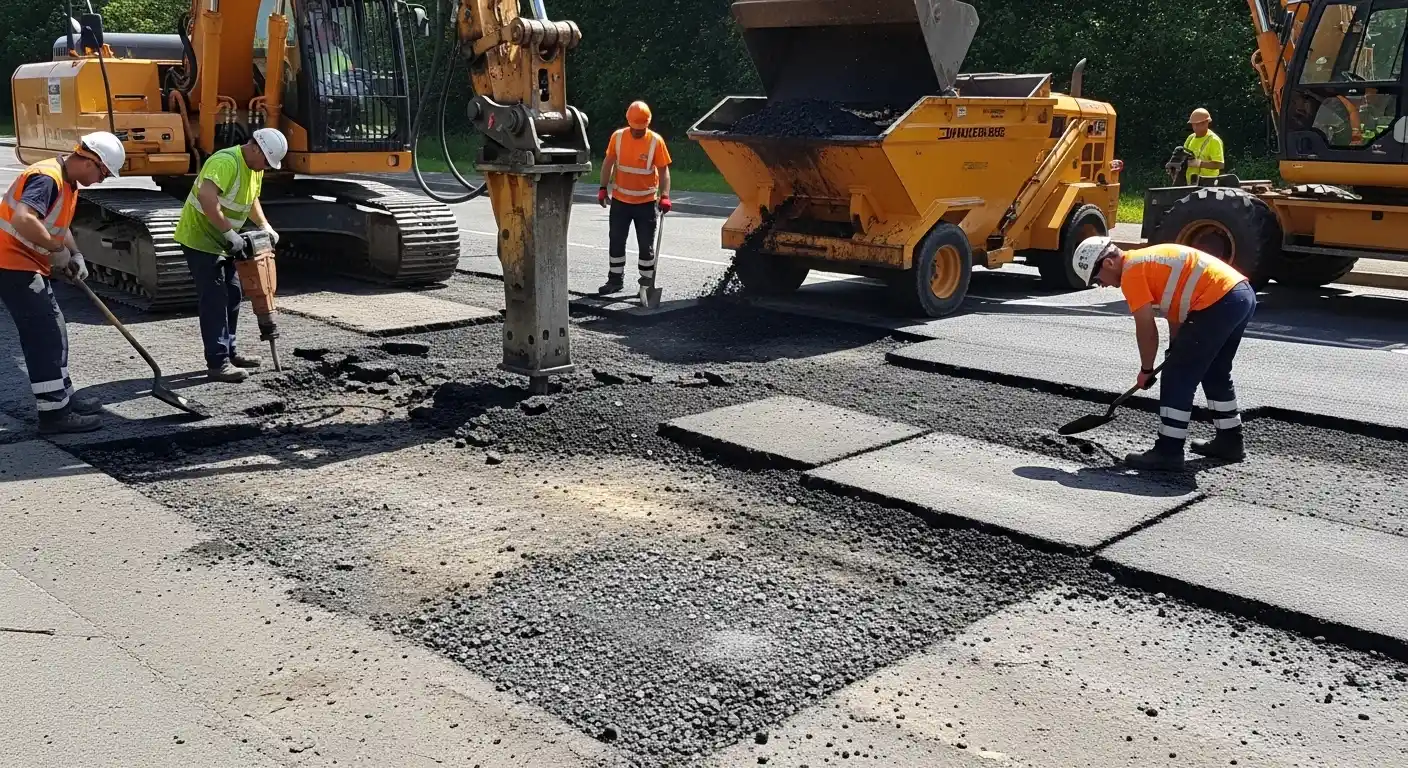
When cracks indicate structural failure, such as alligator cracking, surface crack sealing is not enough. These cases require asphalt patching or full-depth repair to address both the surface and the underlying base. Full-depth repair removes deteriorated asphalt and base material, rebuilds the foundation, and installs new asphalt compacted to match the surrounding pavement.
Patching methods range from temporary throw-and-roll repairs to permanent solutions like saw-cut or infrared patches. Quality repairs use square or rectangular cuts, proper base preparation, and layered compaction of hot asphalt. Infrared patching, which heats and rejuvenates existing asphalt before blending in new material, creates seamless, durable repairs when done correctly.
When Professional Asphalt Repair Is Required
Minor surface cracks can often be repaired with consumer-grade products, but extensive cracking, structural failures, drainage issues, and high-traffic areas require professional expertise. Contractors bring experience in diagnosing underlying problems, access to commercial-grade materials, and specialized equipment to ensure long-lasting repairs.
Professional repair is especially important when cracks indicate base failure, water damage has weakened the pavement, or the area experiences heavy traffic. Investing in professional services is often more cost-effective than DIY attempts, which can accelerate deterioration and lead to more costly repairs later.
Why Early Asphalt Crack Repair Is Important
Promptly addressing asphalt cracks protects both your pavement and your budget. Small cracks treated early rarely develop into major problems, while neglected cracks allow water to infiltrate the base layer. This can lead to freeze-thaw damage, weakened foundation, and eventually potholes that require costly repairs. Sealing cracks while they are small blocks this destructive cycle and preserves pavement integrity.
Early crack repair also extends pavement lifespan by preventing minor issues from escalating. Water infiltration softens base materials, accelerates deterioration, and can cause additional cracking over a large area. Investing in timely crack sealing is far more cost-effective than corrective repairs, helping property owners maintain durable, long-lasting asphalt while minimizing long-term replacement costs.
How to Prevent Asphalt Cracks Long-Term
Ongoing maintenance is key to preventing cracks. Sealcoating protects against oxidation, water, and UV damage, while proper drainage prevents water from pooling and weakening the pavement. Together, these measures slow aging and preserve both structure and appearance.
Regular inspections and timely minor repairs stop small problems from escalating. Identifying cracks, edge damage, or drainage issues early allows prompt intervention, extending pavement lifespan and saving on costly replacements. Proactive maintenance keeps asphalt surfaces functional, durable, and visually appealing for years.
Protect Your Driveway and Parking Lot from Cracks
Don’t let asphalt cracks compromise the safety and appearance of your driveway or parking lot. At SSPaving in Phoenix, AZ, we provide professional crack repair, sealcoating, and full-depth asphalt services to protect your pavement investment. Our experienced team uses high-quality materials and proven techniques to ensure long-lasting results for both residential and commercial properties. Get a Free Estimate Today and schedule a consultation to keep your asphalt surfaces in top condition.
Conclusion
Cracked asphalt is a common issue that can affect driveways, parking lots, and roadways, but understanding the causes, crack types, and repair methods empowers property owners to protect their investment. Early identification and timely intervention—through crack sealing, patching, or full-depth repairs—prevent minor issues from turning into costly structural failures. Combined with proactive maintenance like sealcoating, proper drainage, and routine inspections, these strategies extend pavement life, enhance safety, and maintain an attractive appearance. By staying informed and addressing problems promptly, you can keep asphalt surfaces durable, functional, and visually appealing for years to come.
Frequently Asked Questions
What causes asphalt to crack?
Asphalt cracks develop due to a combination of factors, including moisture infiltration, temperature fluctuations, heavy traffic, poor installation, and natural aging. Each of these elements weakens the pavement and can lead to specific types of cracks.
How can I tell which type of asphalt crack I have?
Crack types can often be identified visually. Alligator cracks appear as interconnected, spider-web patterns, while longitudinal cracks run parallel to the direction of traffic and transverse cracks run perpendicular. Block cracks form rectangular, city-block-like sections, edge cracks appear near the pavement perimeter, and reflection cracks mirror the patterns of underlying pavement layers.
Can I repair asphalt cracks myself?
Minor surface cracks can often be addressed with DIY crack fillers, especially cold-pour products for small, non-moving cracks. However, extensive cracking, structural failures, or areas with heavy traffic usually require professional assessment and repair for lasting results.
What is the difference between crack sealing and crack filling?
Crack filling uses flexible materials to block water and debris in minor, non-moving cracks, whereas crack sealing involves cleaning or routing the crack and applying specialized sealants that expand and contract with the pavement. Crack sealing is more durable and better suited for working cracks that experience movement.
How can I prevent asphalt cracks from forming?
Preventive measures include regular sealcoating to protect against oxidation and UV damage, maintaining proper drainage to avoid water pooling, conducting routine inspections, and performing timely minor repairs. These steps help protect the pavement structure, prevent deterioration, and extend the lifespan of asphalt surfaces.
